Thursday, March 13, 2008

Arm

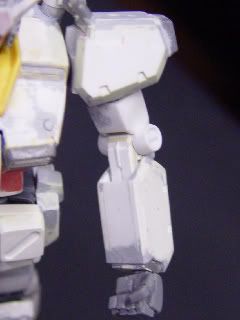
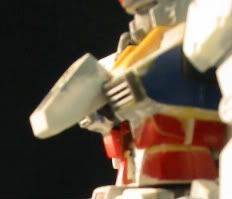
I don't think you can avoid modifying the arms of the HGUC GM Quel. The lower arms are scratch build from plastic cards. The tricky part is to incorporate the elbow joint into the arm. Stacks of three 0.4mm styrene cards form the side wall of the lower arm. Holes are drilled through the stack to place the polycap for the elbow joint follow by puttying. Same thing was done in the middle of the arm for a polycap that will attach to the shield. I trimmed off the flare of the hand socket to decrease the size and epoxy puttied it into the other end of the lower arm. A hallowed out Kotobukya rectangular nozzle is used as the sleeve. I also used some think styrene sheet to detailed the elbow joint cover.

Photobucket

The lower arm is cramped with polycaps, some planning with drawings is needed to make sure there is enough space. With some luck, pretty good mobility can be achieved without too many trial and error. A final thin styrene sheet is used to add the surface detail (notches) on the side of the lower arm.
Photobucket

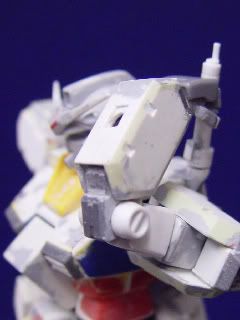
You may notice the bolt of the elbow is attached to the upper arm, instead of the lower arm as in the stock kit. You can saw off the bolt carefully using a saw scriber and glued onto the upper arm with the elbow joints locked in the upper arm. This is not the best arrangement since the entire arm are now in one piece and need extensive masking for painting.

One advise I have is not to go crazy when beveling with the sand stick. Care must be taken to check the surface after several sanding strokes. Or else you may have to putty and resand like I did here.
Wednesday, March 12, 2008

Long long time ago.... In a place far far away

This was my first major (non-bashing) modification project started when I was in Boston during my master program. The choice of using a HGUC gundam kit as the base for this conversion shows the sign of the time. This conversion is much easier now base on the new GM-Quel kit.

Photobucket

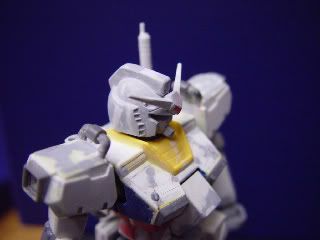
The most challenging part of the project is the modification of the chest block. The stock kit was way to animeish. I saw off the top front of the chest and replace it with plastic card. Then the top of the shoulder are puttied and the vent are sculpted using hobby knife. Then a second surgery is made to remove the original cockpit.

Photobucket


Cockpit is a scratchbuild using plastic card. I used 0.75mm card and someone commented the card is too thick. Having made one using thinner (0.40mm) cards in the GM sniper project, I have to agree. I added a mechanical arm behind the cockpit. This was done to increase the mobility of the waist. Although a fully opend cockpit post is possible as shown in the picture, the ball joint the the waist makes building internal cockpit impossible. All these work are now unnecessary using the Quel kit.